dairy-free

The Good Medicine Guide to Chia Pudding by emily penn

963119BD-A4A0-4923-9A9C-C408E348ECAD.jpg

Every time I post something about chia pudding, I get a TON of questions about it. It’s actually quite simple, but there are a few tips and tricks that will help you make your best chia pudding. First thing’s first -

What is Chia Pudding?

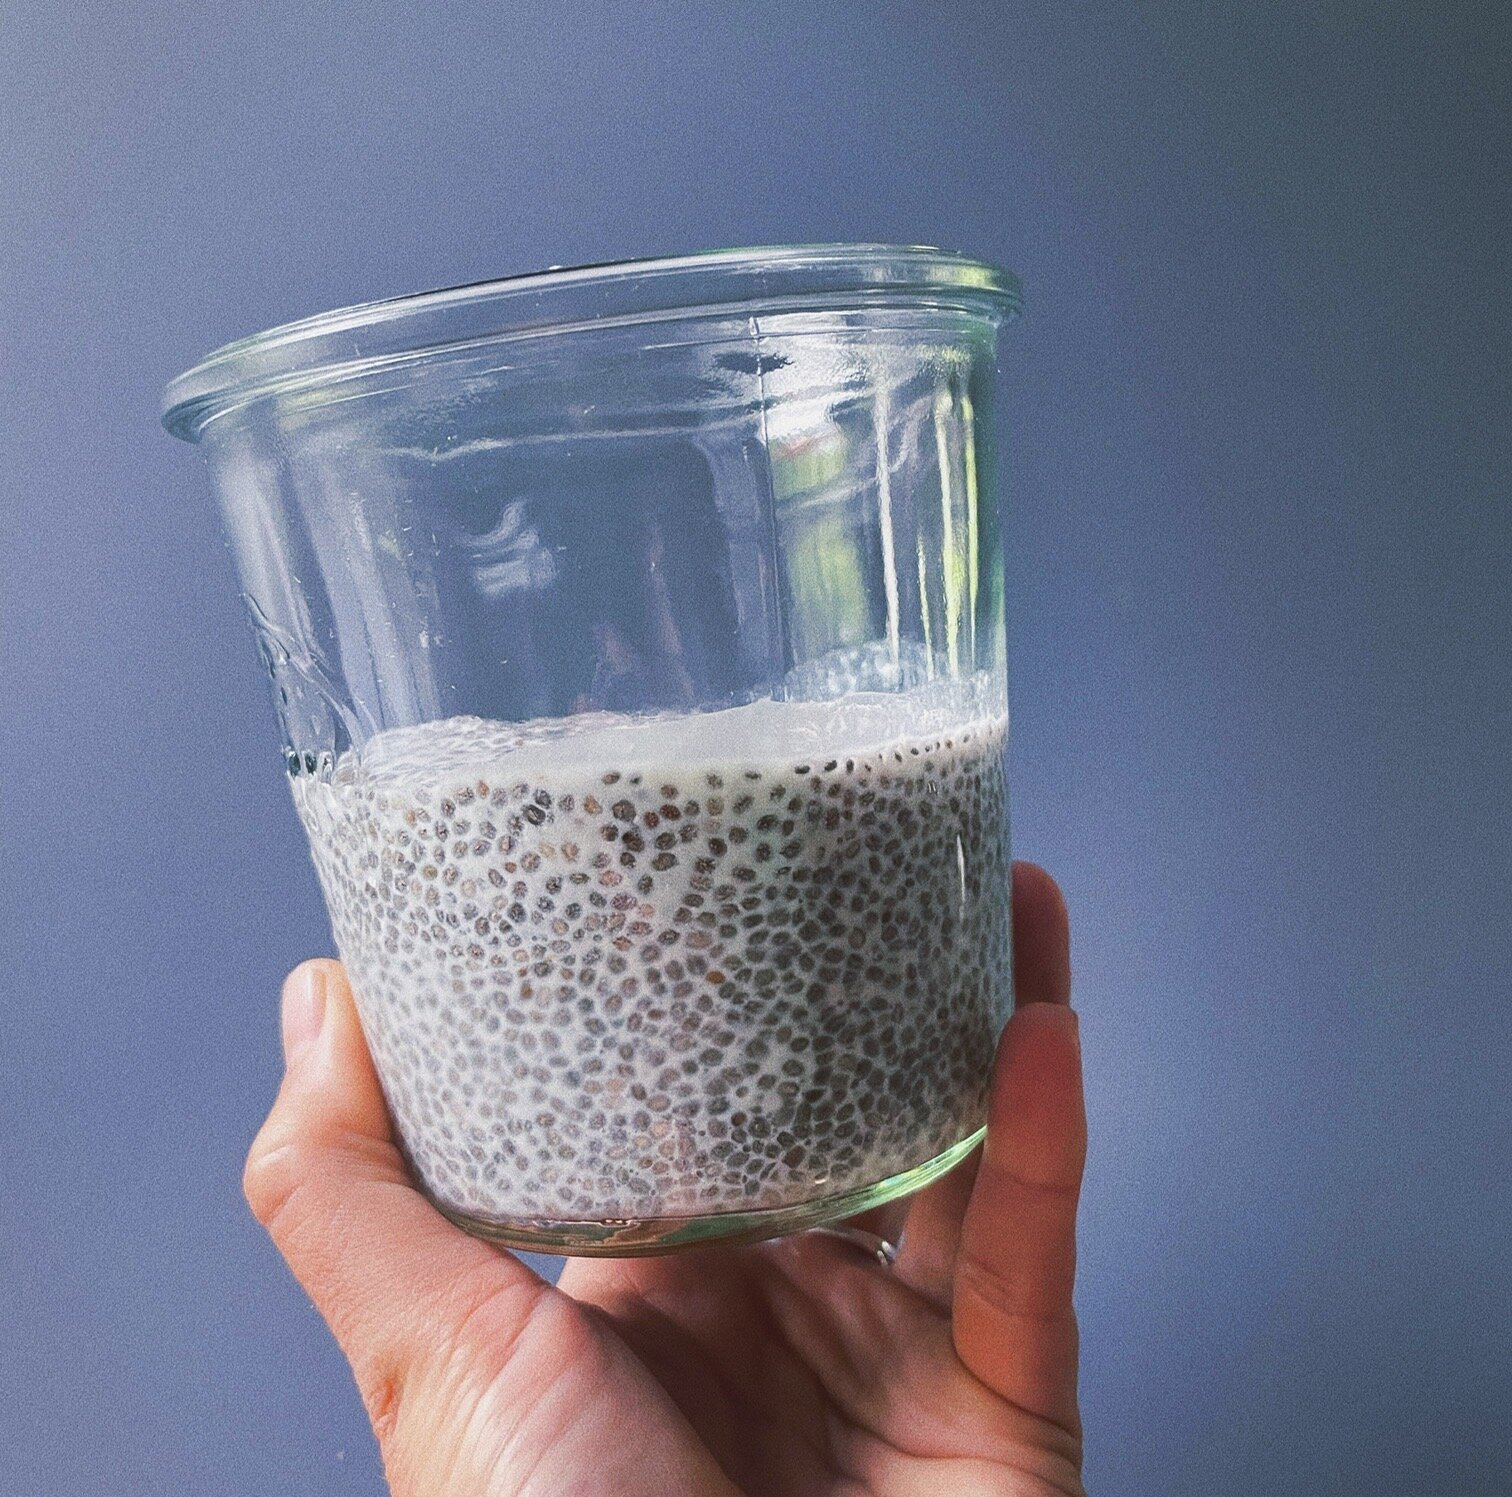
Chia pudding is a mixture of chia seeds and liquid of your choice (typically a non-dairy milk) that’s most often consumed like a breakfast porridge or yogurt. Chia seeds absorb liquid and gel up. They’re almost like mini tapioca pearls. The resulting pudding can then be topped with fruit, nut butters, seeds, granola, etc. for a delicious and filling breakfast!

Why am I so obsessed with Chia Pudding?

I am a huge fan of chia pudding because it’s a blank canvas - you can add whatever you want to it to make it something you like. It’s extremely easy to batch prep, so you can have healthy breakfasts on hand all week. Chia seeds are an amazing source of fiber, so they support digestion and regularity. They also contain omega 3 fatty acids, which are anti-inflammatory. It’s one of the most simple, nutrient-dense meals you can prep!

Basic Recipe

1 serving, multiply accordingly

ingredients
1 cup non-dairy milk (preferably unsweetened)
2-3 tbsp chia pudding (3 tbsp for a thicker chia pudding, which is my preference)

directions
1. I like to prep my chia pudding in individual containers (wide mouth mason jars work great) so that I can grab and go all week, but if you eat breakfast at home you could just prepare multiple servings in a large container.

2. Add 1 serving of chia seeds to each container.

3. Pour your non-dairy milk in. Stir the chia seeds immediately so that they are distributed throughout the liquid. They start absorbing liquid instantly, and you don’t want them to clump together. Stir each container once.

4. This next part is key for a non-clumpy, perfect texture chia pudding. Wait 3 minutes and then stir each container again, to redistribute the chia seeds. You can stop here, but personally I would wait another 3-5 minutes and then give each container one last stir. Keep in mind that your chia pudding will continue to thicken, but if your chia pudding seems too thin, add another teaspoon of chia seeds until you reach your desired consistency.

5. At this point you can either seal your containers and put in the fridge, or you can go ahead and put your toppings on now - this is a totally personal choice! I usually put my toppings in at this point so that the chia puddings are ready to grab n’ go.

Topping Ideas

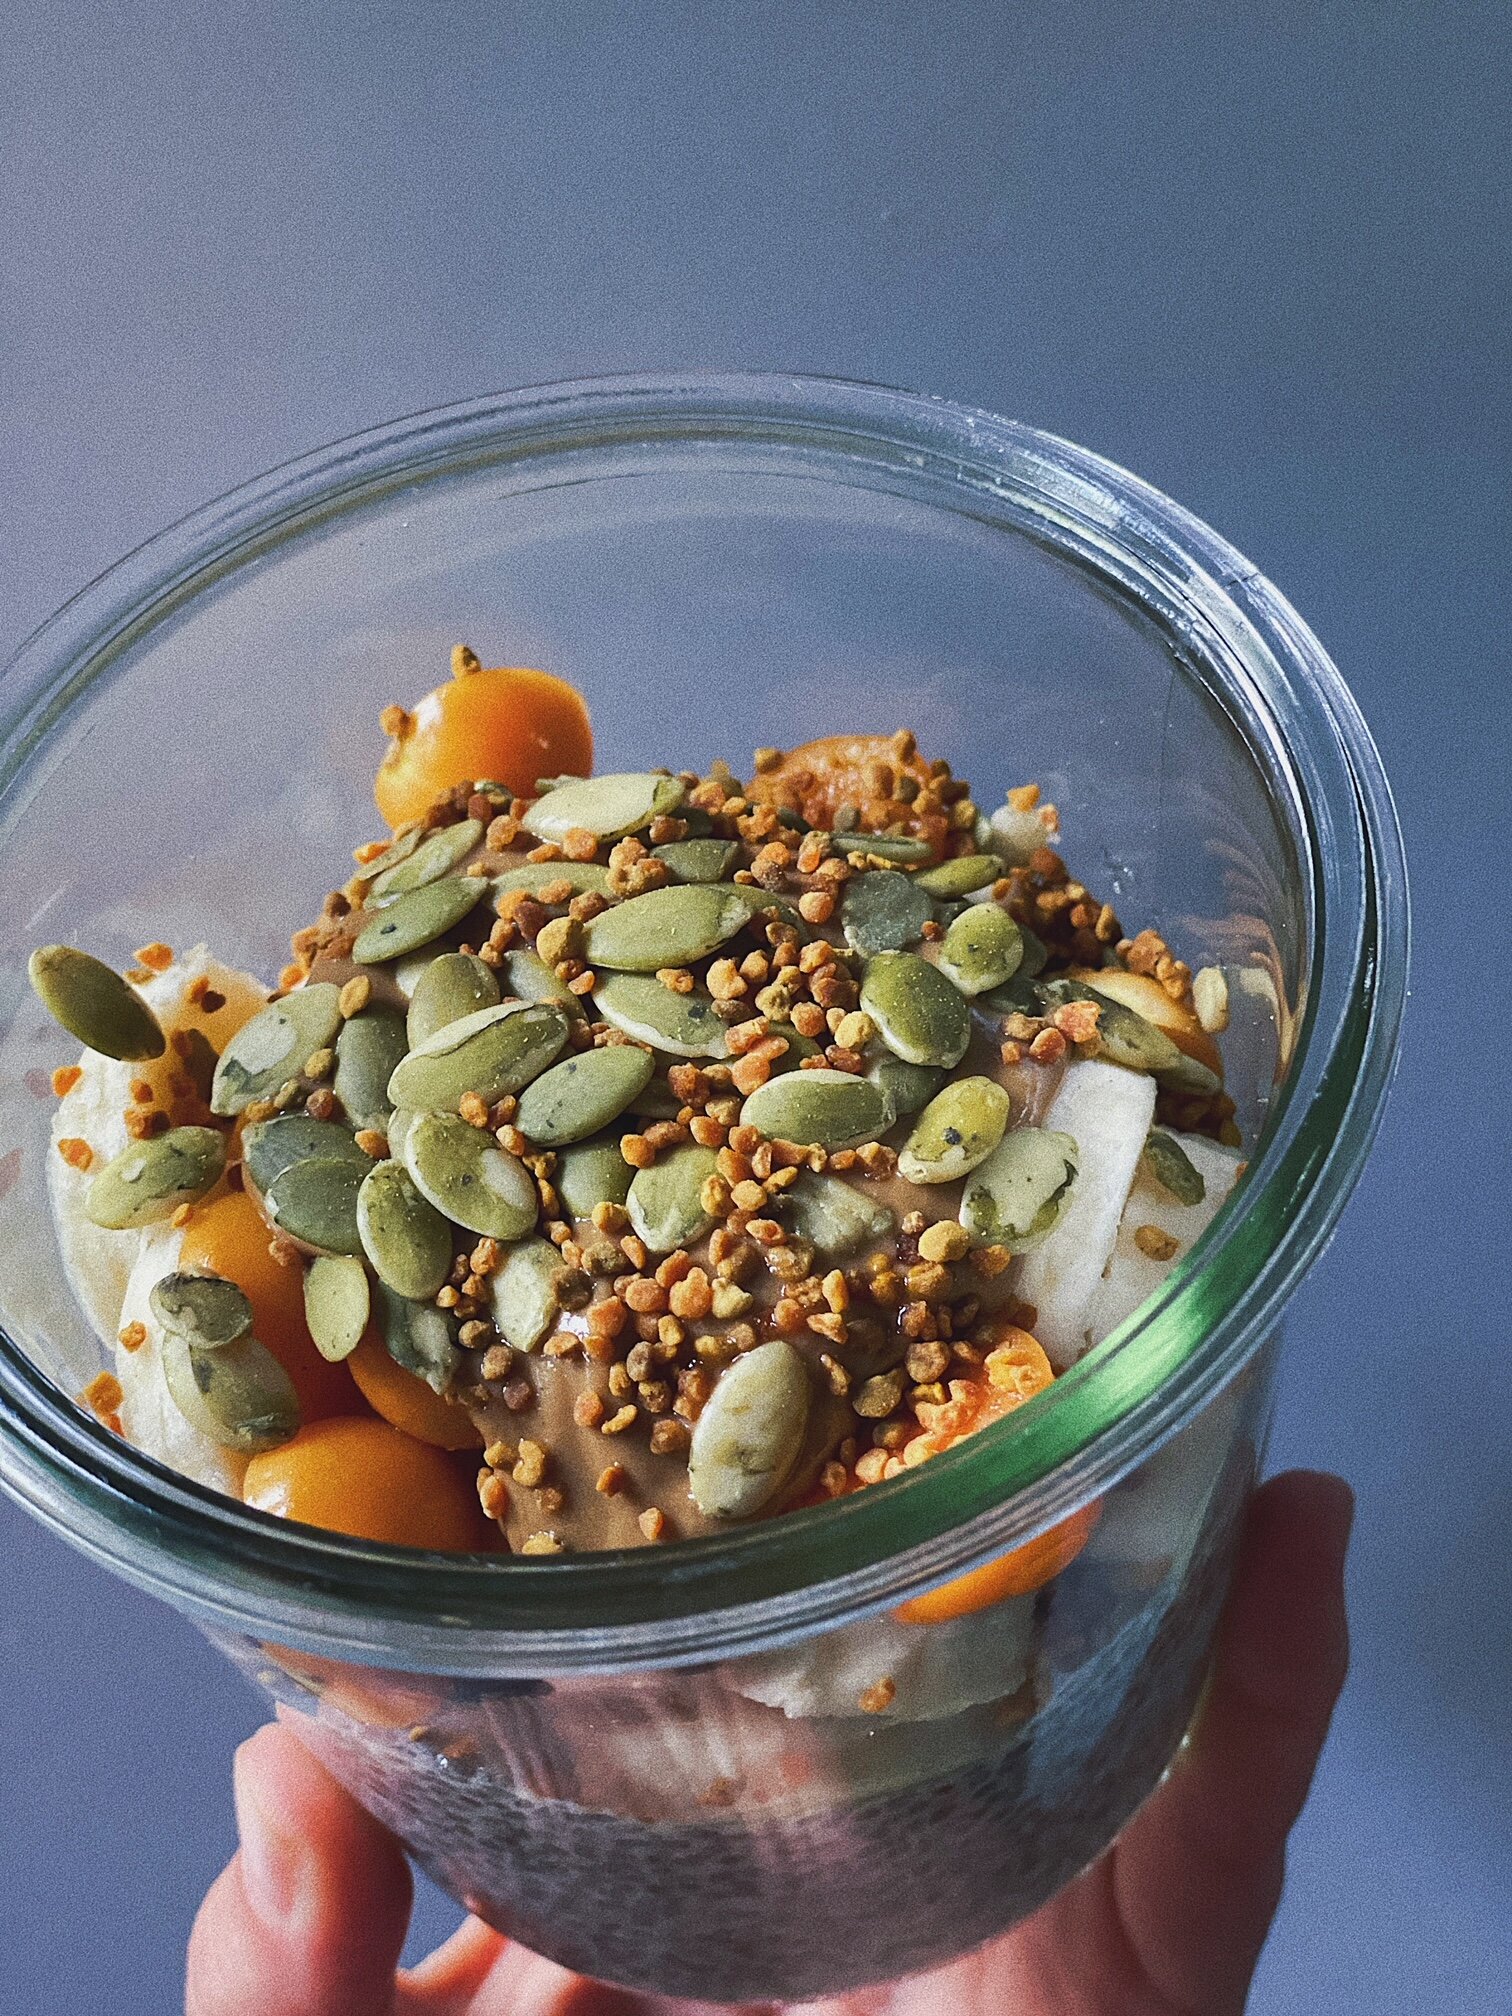
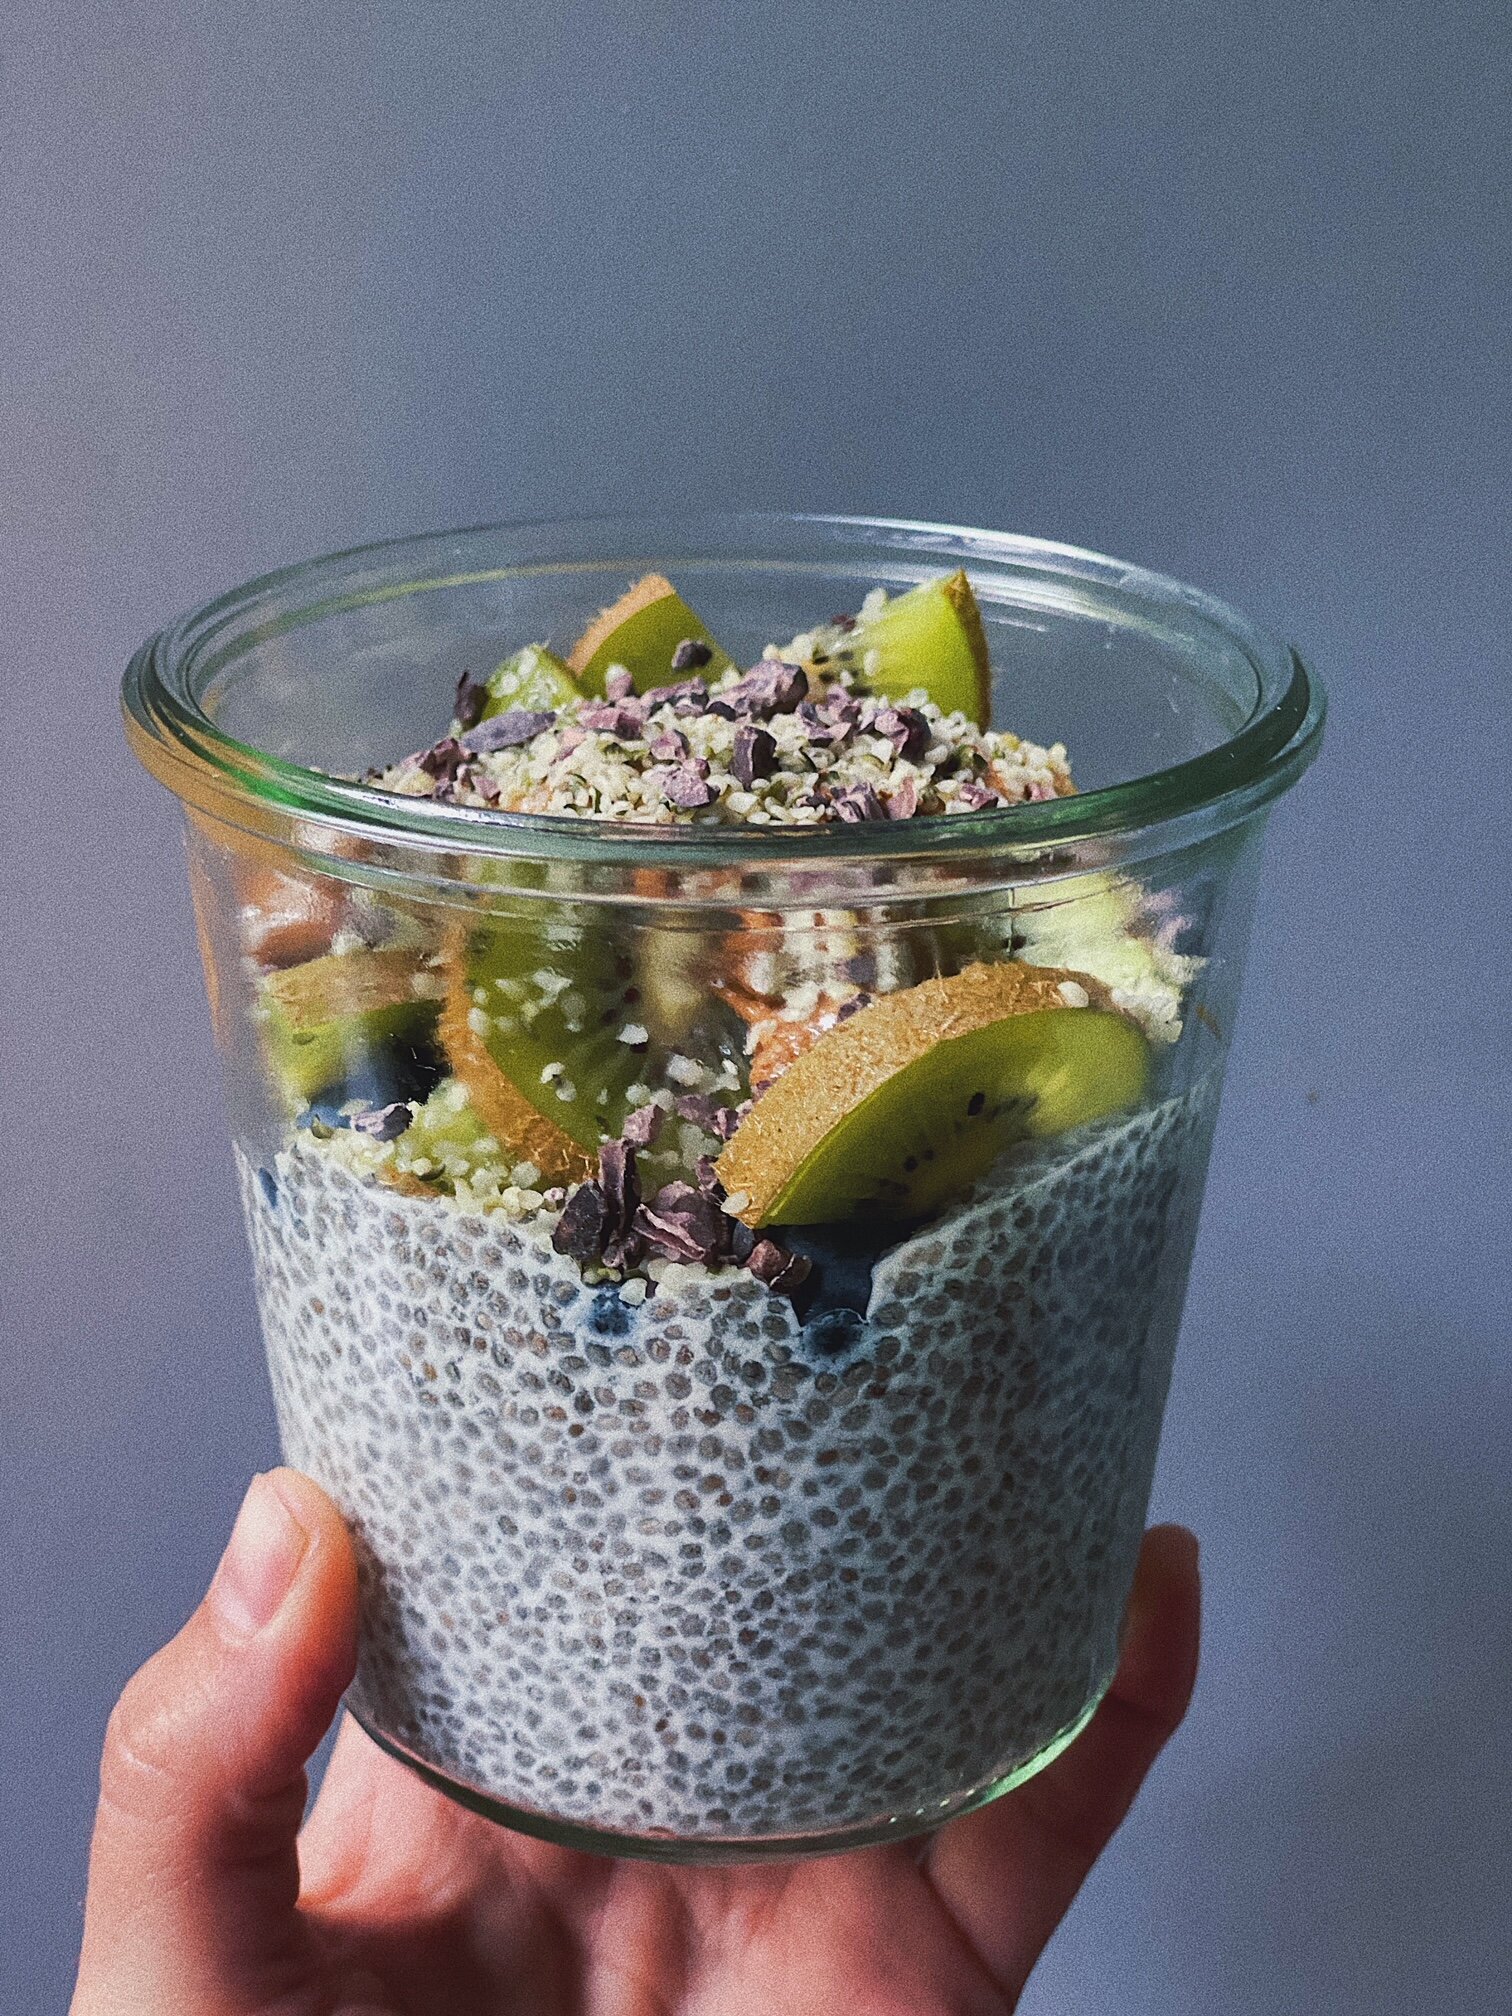
I typically use whatever fruit is in season + nut or seed butter + something crunchy. Cacao nibs are my go-to for adding crunch without extra sugar. Feel free to use granola, but be mindful of the sugar content. Here are a few yummy combos:

  • Seasonal berries + almond butter + cacao nibs

  • Sliced banana + cashew butter + pumpkin seeds

  • Fresh mango + almond butter + toasted coconut flakes

  • Roasted sweet potatoes (trust me) - for full details check out this post

Optional Add Ins

  • Ground flaxseeds - you can substitute some of the chia seeds with flax seeds since they also thicken up liquid

  • Yogurt - add some yogurt for probiotics. My favorite non-dairy brands are Lavva, Kite Hill and Forager. Go for unsweetened.

  • Other seeds - hemp seeds, pumpkin seeds, sunflower seeds, etc.

  • Dried fruit - raisins, chopped dates, coconut, etc. Again, be mindful of added sugar here

  • Spices - cinnamon, cardamom, nutmeg, vanilla, etc.

  • Adaptogens/herbs - maca, chaga, reishi - as long as it’s not too bitter, I add small amounts.

737CE362-CCA0-4FA1-9BA1-EE573668F43A.jpg

Creamy Spring Pasta (Dairy-Free) by emily penn

263D1267-F39A-4230-AF33-1988941F5F38.jpg

People really hate me when I say this: I’m not a big pasta person. I never really have been. Generally speaking, it just doesn’t do it for me.

But I was recently reminded of a recipe that I grew up with when my mom requested it for her birthday dinner. It felt nostalgic and also like a nod to the Spring that’s desperately trying to come through.

Instead of the half and half and/or heavy cream that’s typically used in a dish like this, I opted for cashew cream which provides the same rich, luscious mouth experience (I would argue, even more) than its dairy counterpart.

I also recently discovered a really delicious gluten-free pasta that’s made fresh and I have to say, that made the idea of pasta more appealing for me. It has simple ingredients and a really great texture. It’s made in Wisconsin and looks like it’s currently only available in the Midwest, so if you can find it I highly suggest it!

Typically, you’d garnish this dish with fresh Parmesan. I opted to grate macadamia nuts on top, but you could also use Brazil nuts. A microplane or zester works best here. I’ve also used this dairy-free Parmesan recipe before and that would work wonderfully.

This dish is heavy on the vegetables, full of healthy satiating fats from the cashews and overall provides a comforting, bright dish that will help you welcome Spring into your kitchen. Enjoy!


Creamy Spring Pasta

serves 4 / total time 30 minutes

cashew cream sauce
1.5 cups raw cashews, soaked overnight*
1 cup water
1 clove of garlic
Juice + zest of 1 lemon
½ tsp salt
A few grinds of pepper

pasta ingredients
6 strips of applewood smoked bacon, chopped**
3 shallots (or ½ red onion), thinly sliced
1 clove of garlic, minced
2-3 cups asparagus, chopped, approximately 1 lb
1 cup fresh or frozen peas
9 oz your favorite pasta

garnish
Fresh lemon zest
Black Pepper
Micro-planed brazil or macadamia nuts
Nutritional Yeast

directions

  1. Get a pot of water for your pasta going on the stove.

  2. First, make your cashew cream sauce. Add everything to a high-speed blender and blend on high for 1 minute, scarping down sides as necessary. Set aside.

  3. In a large skillet over medium heat, add the bacon and shallots. Cook for 5-7 minutes until they’re both starting to get brown and crispy. Add the garlic for the last minute or so of cooking. Transfer to a bowl and set aside.

  4. In the same skillet, add the asparagus and turn up the heat slightly. Sauté your asparagus for about 3-5 minutes, until it turns bright green. Add the peas and cook for an additional 2-3 minutes, until they turn bright green as well.

  5. In the meantime, you may notice your pasta water boiling. Go ahead and cook your pasta according to the package instructions, drain and set aside.

  6. Once the asparagus and peas are done cooking, turn the heat to low and add the cashew cream, the bacon/shallots and the pasta to the skillet. Stir the pasta mixture evenly, distributing the cream sauce to make sure everything is coated. If the cashew sauce gets too thick as it sits, add a few splashes of water until it's creamy again.

  7. Divide into bowls and garnish with a little fresh lemon zest, your “parm” of choice and some fresh black pepper. Enjoy!

    * If you forget to soak overnight, cover the cashews in boiling water and allow to sit for at least 10 minutes.
    ** You can use regular bacon here, but the smoked flavor really makes this good.